Thursday, February 26, 2015

WATERCOLOR WORKSHOP: Roses with Plaid Underpainting


This watercolor project, "Roses with Plaid Underpainting", 
was inspired by our featured woman artist for February -- Anne Frances Byrne.  


One of her favorite subjects to paint in watercolor was the rose.  Byrne did most of her sketching on-site, to gather information and references, for painting later on in her studio.


For my reference, I used photos I took of the roses in my son's garden . . . 


 . . . and also the sketches I had made, with my granddaughter . . .


In this project, we will begin the painting with a grid -- which, in this project, is used as a design tool.

1.  On a mounted piece of 12" x 15" watercolor paper, draw a grid of horizontal and vertical lines, approx. 3" apart, in pencil.


2.  Now, paint a pastel plaid.  Paint one or two vertical stripes a very pale Yellow (Hansa Yellow or Aureolin or Winsor Yellow).  Paint one vertical stripe a very pale Rose (Quinacridone Rose or Permanent Rose or Rose Madder Genuine).  Leave one or two vertical stripes unpainted.  Let those painted stripes dry.


3.  Next, paint one or two horizontal stripes a very pale Yellow.  Paint one horizontal stripe a very pale Rose.  Paint the top horizontal stripe a very pale Blue (Cobalt Blue). 

Try to keep this underpainting very pale, because we are painting pale peach roses on top.


4.  When this underpainting is totally dry, draw two or three roses, in pencil -- with some stems and leaves.  Try to keep these roses in the bottom 2/3 or 1/2 of your paper, since these will be your foreground roses . . . 


5.  Mix up a Coral on your palette, using the Rose and the Yellow.  Ignore the grid for now, and paint the roses, using this Coral mixture.  Leave parts of the petals unpainted.  On some of the larger petals, grade the wash, so you get a nice variation of value; thus, giving your petals some form.  Paint some of the shapes in the centers of your roses a very intense Coral.


6.  Mix up two different Greens (Sap Green + Cobalt Blue; and Sap Green alone), and paint the leaves and stems.  Paint the thorns with Burnt Sienna (or Quinacridone Burnt Orange).


7.  After you've painted the stems and leaves, work on the background grid.  First, draw a few more vertical and horizontal lines, in pencil.  This time, do not draw over the roses that you've painted.

You should have some 1" stripes and some 2" stripes, going both ways in the background.


8.  Now, mix up a wash of Quinacridone Gold.  Paint three of the vertical stripes with the Gold.  When that dries, paint one horizontal stripe with the Gold.  Remember -- don't paint over the roses when painting these stripes -- keep it in the background.


9.  Mix up a wash of Quinacridone Rose (or Permanent Rose).  With this wash, paint three vertical stripes, keeping it in the background.  When that dries, paint two horizontal stripes with the Rose.


10.  Mix up a wash of Cobalt Blue.  With this blue, paint three or four vertical stripes.  When that dries, paint three horizontal stripes with the blue.


If you like the look of your painting, you could stop right there.  Or, you can proceed with another layer of roses.

11.  Draw one or two smaller roses in the background, with stems and leaves.


12.  Then, mix up a wash of Quinacridone Burnt Orange or Burnt Sienna.  Use this wash to paint all the negative shapes.  In other words, you will paint this wash over everything, except all the roses and leaves.  By doing this, the background roses will emerge, but will still look as if they are further back than the foreground roses.


13.  Ignore the grid again, and paint the background roses, stems, and leaves.  Use the coral mixture and Magenta (Quinacridone Magenta or Permanent Magenta) for the roses, and Sap Green mixed with Blue, for the leaves and stems.


14.  Shift to the background grid again.  Draw your last vertical and horizontal lines with pencil.  So, you will be dividing all the 2" stripes in half.  You should end up with 1" squares throughout your background.  (Don't worry if it doesn't work out perfectly.)


15.  Paint some Blue (French Ultramarine) vertical stripes and some Blue horizontal stripes -- remembering to keep these Blue stripes transparent, and in the background.  Let this layer dry.


16.  To finish, mix up a dark Blue (French Ultramarine + a little Magenta + a little Burnt Sienna).  Paint some of the background squares with this dark Blue color.  (Hint:  Paint the darkest dark behind/next to those roses that you really want to stand out.


Tuesday, February 24, 2015

2015 Watercolor Workshop Schedule


2015 WORKSHOP SCHEDULE


March 19th & 20th -- CALIFORNIA 
2-Day Workshop at the Art Exchange in Long Beach, CA (FULL)


June 3rd -- COLORADO
One-Day Workshop at my home/studio in Durango, CO


September 18, 19, 20, 21 -- COLORADO
10th Annual 4-Day Workshop at my home/studio in Durango, CO


October 8th & 9th -- OHIO
2-Day Workshop at The Wolf Creek Winery in Norton, OH 


____________________________________


Details will follow . . . 


Thursday, February 19, 2015

BEHIND-THE-SCENES LOOK: Bad Timing, Beginner Workshop, and Left-Handed Demos

On Monday, I was getting ready for my two-day Beginner Workshop, to be held here at my house and studio -- and then this happened . . .


My big black Lab/Newfie mix, Royal, took off after the UPS truck, I took off after her, turned the corner of my house, slipped on a patch of ice, and boom -- landed on my wrist.  Since it swelled up immediately, and hurt like hell, I went in for x-rays.  Found out there were no fractures -- just severe trauma and swelling.  So, they put this cast-looking thing on my wrist/arm/hand.  


I soon realized I could not do much with my right hand.  And, I also realized, soon after that, that my left hand was pretty worthless, too.  I am the least ambidextrous person!  Thank goodness my husband was around to set up tables for me -- I even had him stretching and stapling paper.  I was also thankful that there were only going to be four students in this workshop -- instead of the 12-15 people I usually have.  Still . . . I knew they were expecting to learn how to paint.  Little did they know they would be learning from someone who couldn't even hold a brush.  This should be interesting . . . 


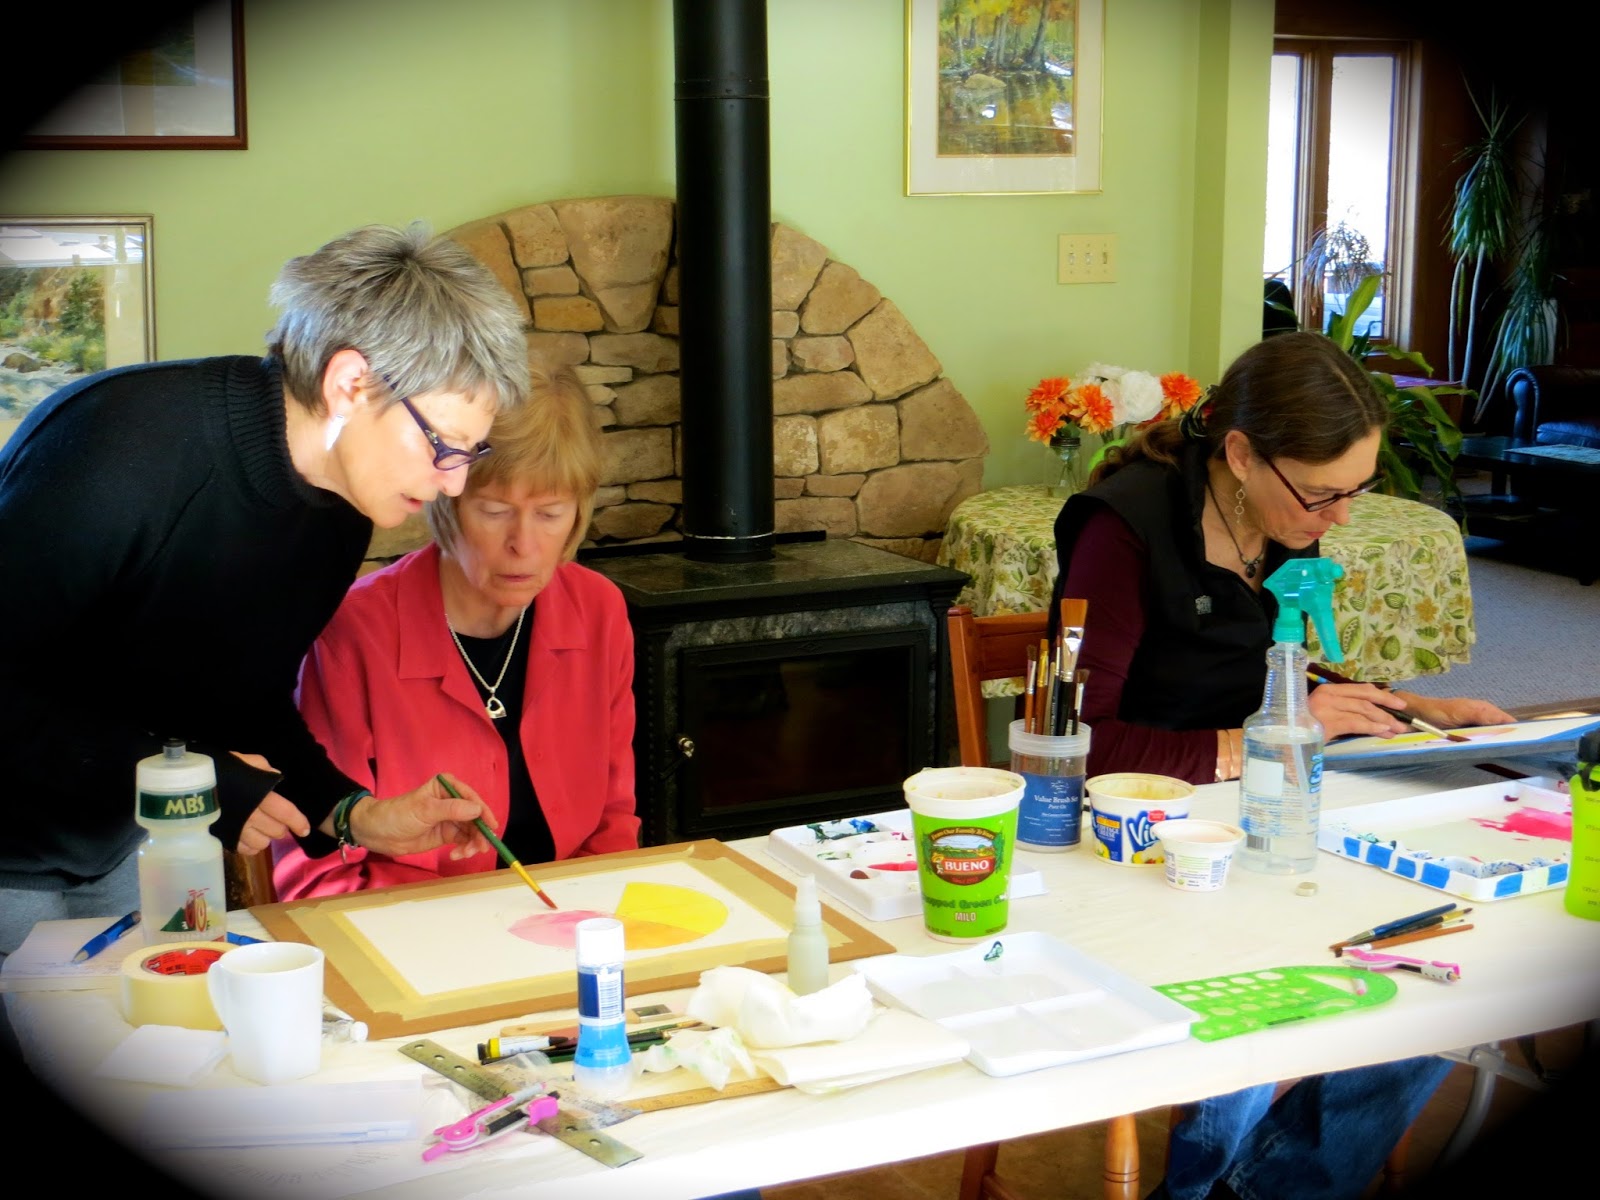
Our project for the first day was the Color Wheel.  


I had replaced the ugly white bandaging with a sleek, sophisticated black brace on my right wrist, managed to do a few left-handed demos, and took a lot of Ibuprofen.  

All the ladies were so understanding, and produced some beautiful paintings -- which is the most important thing.


Our 2nd day project was Negative Painting of Trees.  The swelling and pain had lessened that morning, so I was able to use my right fingers, in order to demonstrate the wet-in-wet painting.  Still had to draw with my left hand, so that was lovely.  (no pix of that, of course)


All in all, I think the workshop was a success.  Based on their paintings, I think everyone learned something; and based on their comments, I think they all enjoyed the experience and will continue with their watercolor journey.  

(My wrist is gradually getting better, which is why I can now type this with all my fingers.  It may be a week or so before I can draw and paint, though.  I'll be patient, though.  And, I will heed my husband's advice:  "Next time, just let the dog eat the UPS guy!")


Thursday, February 5, 2015

WOMEN ARTISTS: Anne Frances Byrne


The featured artist for February, in my series of Women Artists, is:


ANNE FRANCES BYRNE

"Roses and Grapes"


Here are 10 things to know about Anne Frances Byrne, along with a few examples of her work:


1.  Anne Frances Byrne was a British painter (1775-1837).  She was among a group of late 18th to early 19th century artists who painted still lifes of flowers and fruit.


2.  She was born in London, the eldest daughter of a landscape engraver, William Byrne.  
She became one of her father's pupils and assistants.  


3.  She became proficient in both flower and fruit painting, and exhibited her first piece at the age of twenty-one.


"Grapes and Strawberries"


4.  At first, Anne painted in oils, but later took up and devoted herself to watercolors, in which she became very proficient.


5.  At that time, there were very few women watercolor painters.  She was elected to membership at the  Society of Watercolour Painters, in London, in 1809.  In fact, she was the first and only female member of the Society of Watercolour Painters until 1821.


6.  Over the years, she resigned, rejoined, and resigned again, from the Society -- largely because of gender discrimination, the disapproval of her genre, and other disagreements.


"Honeysuckle, & Poppies, Etc.", watercolor on paper, 13" x 17"


7.  She painted and exhibited her watercolor paintings of flowers and fruit, along with some studies of birds -- at the Royal Academy of Arts in London.  With the exception of a few pieces, Byrne focused primarily on flowers -- usually sprinkled with fruit, bees, butterflies, dewdrops, and other accessories, to bring them to life.


8.  Her flower paintings glowed with refreshingly rich colors, combined with a charming freshness and a deft technical precision with the watercolor medium.


9.  Her three siblings were also artists -- her sisters, Elizabeth and Letitia were well-known engravers, and her brother, John, was also a watercolorist.


"Roses & Grapes"


10.  Byrne was originally a teacher, but soon decided to devote herself to her painting, which she continued for the rest of her life.  She died at the age of 62, in 1837.


Sunday, February 1, 2015

MONTHLY RECAP for January -- What I've Been Up To


The first month of 2015 was a surprisingly productive and creative month for me.  I spent most of January planning the year -- for me personally, as well as for my business.  I also put together my annual family photo projects, including a wall montage and an album.


I finished three paintings in January -- one portrait and two paintings from my October trip to Italy.


"Wading Egret in the Arno River", 22" x 30" watercolor by Pat Howard

I'm happy with this painting, and I think I may enter it in a few exhibitions this year, rather than putting it in the gallery right away.  We'll see . . . you never know what the jurors will like.


And my 2nd Italy painting . . . 


"Rooftops of Riomaggiore", 22" x 30" watercolor by Pat Howard


Finally, my latest portrait commission . . . 


In February, I have another portrait commission to paint, and I have plans for two more Italy paintings and a big floral bouquet painting, since I haven't painted one of those in awhile. 

I will also be conducting a beginner's workshop, here at my house/studio in Durango, on the 17th & 18th.  And, my upcoming California workshop in Long Beach is filling up, so I will be preparing for that, too.

For the blog, I'm excited about my Women Artists project that I started in January, and will be continuing with that.  The featured artist for February is Anne Francis Byrne, a watercolor painter from the 18th century.