
Who doesn't love butterflies? And, their shapes and designs lend themselves to this batik method of painting. The technique/process used in this project is similar to traditional batik. But, instead of fabric, wax, and dye, we will be using paper, masking fluid, and watercolors.

For this project, you'll need a prepared sheet of watercolor paper, approximately 6" x 15" (a long and skinny format). Also have on hand -- masking fluid and quill pen (or something similar), salt, and a rubber square eraser. The watercolor pigments we will use -- Quinacridone Gold, Quinacridone Burnt Orange, Alizarin Crimson, and Thalo Blue. And, at the end, we will use a little Cadmium Red and Cerulean Blue (for spattering).
Prep 4 colors on your palette for your wet-in-wet underpainting -- the Quinacridone Gold, Quinacridone Burnt Orange, Alizarin Crimson, and Thalo Blue (or something similar). . .

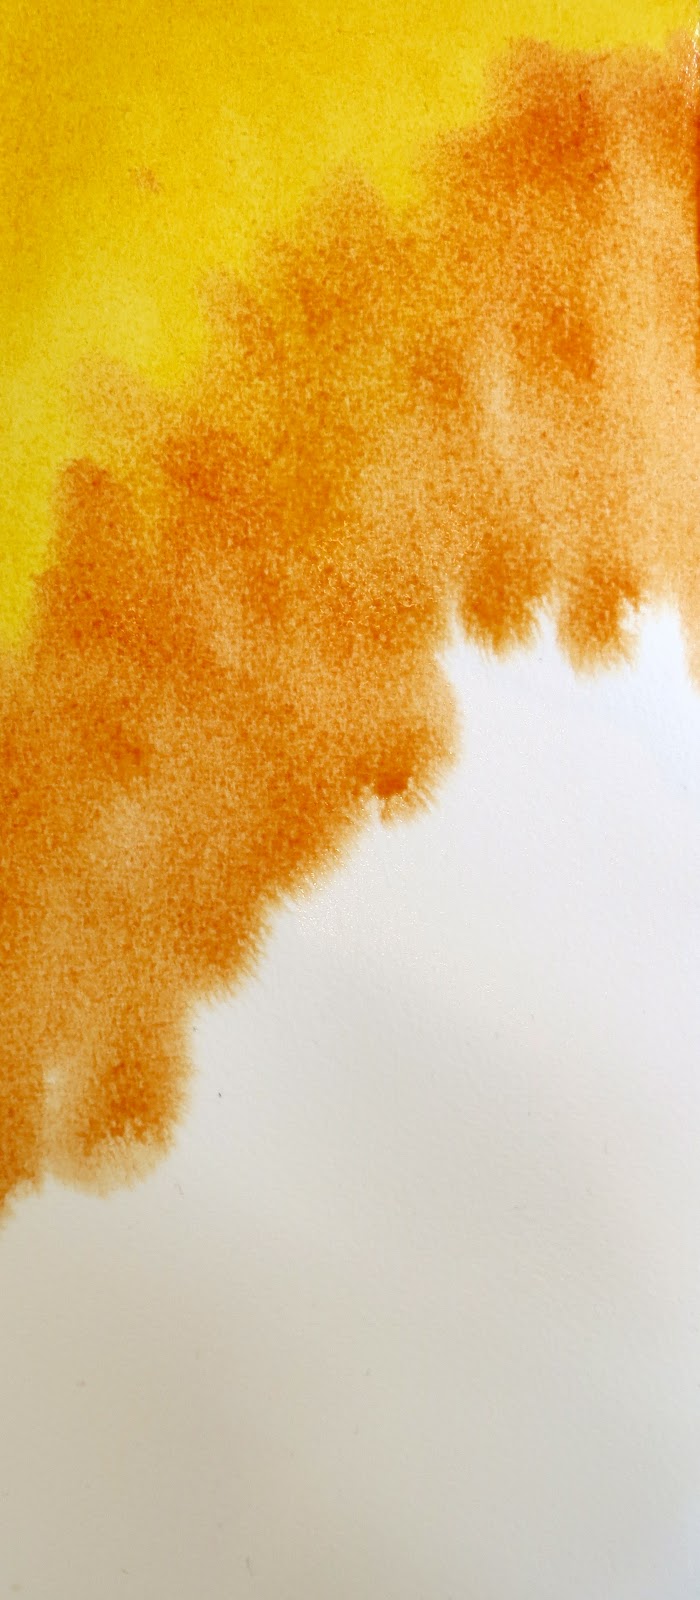
Spray the paper with clear water. Starting at the top left corner, paint the Quin Gold, in a diagonal way, approximately 1/4 down the paper. While that is still wet, start painting the Quin Burnt Orange, overlapping the Gold. Paint that in a diagonal way, to about halfway down the paper. If it starts to dry, mist with clear water, so the paint moves and mingles. . .
Now, start painting with the Alizarin Crimson, overlapping the Burnt Orange, to about 3/4 of the way down. Then, finish with the Thalo Blue.
Hold the board on end, over your palette, so the excess paint/water drips off the bottom. . .

Lay the paper flat, and spatter those 4 colors onto the wet paint. Wait until there is a shine to the paper, but no big puddles -- and sprinkle salt all over. (There's no right or wrong way to do this. Your paper will be drying at different rates. If it's too wet in parts, the salt just dissolves. If it's too dry in parts, the salt will do nothing. We're just trying to add some texture to this underpainting . . . )

While this is drying, find some references for your butterflies, or you can use this Plate . . .

When your paper is completely dry, brush off all the salt.
Pick out three butterfly references, and draw them onto your paper. (If you don't have the time or patience, you can always just draw one butterfly.)

When I use masking, I thin it a little with water, putting it into a tiny container. And, I apply it with a quill pen with a metal nib. This cleans up easily.

We'll be doing 3 stages of Masking and Painting, before we're finished. This is a way of negative painting, but, we're blocking out the positive shapes, in stages, and painting the negative areas. The masking takes a little care, but the painting is easy -- you don't have to paint around the positive shapes.
1st Masking/Painting Stage -- apply the masking fluid to the lightest shapes in the wings.
Top Butterfly --

Middle Butterfly --

Bottom Butterfly --

When you have masked all the lightest areas in all the butterflies, let it dry completely before painting.
Remove the Quinacridone Gold from the middle of the palette. Just use the Burnt Orange, the Alizarin Crimson, and the Thalo Blue, for this painting stage.
After the masking is totally dry, mist the painting with clear water, and paint those three colors, in the same diagonal manner as before, starting with the Burnt Orange in the upper left corner, then the Alizarin Crimson in the middle, and finishing with the Blue to the bottom.

We WILL NOT be adding any salt at this stage, but you can still get some texture by spattering those 3 colors onto the wet paint. Also, when the paint starts to dry, you can spray it with a fine mister, to get some additional texture. Lay flat, and let it dry. . .

2nd Masking/Painting Stage -- When the paint is completely dry, it's time to add your second round of masking. Remember, you don't remove any of the masking until the very end.
Top Butterfly --

Middle Butterfly --

Bottom Butterfly --

You can't tell from these pictures, but I also masked out the antennae of each of the butterflies at this stage.
After the masking is completely dry, use the same 3 colors you used before, and paint them in the same order. Once again, spatter some of the paint onto the wet paint, and let everything dry.
If possible, try not to use a hair dryer to speed up the drying process -- it makes it harder to remove the masking at the end.

Final Masking/Painting Stage -- At this stage, you will mask out the rest of the shapes of the butterflies. Leave some of the lines unmasked, as well as some of the shapes that you want to be dark.
Top Butterfly -

Middle Butterfly -

Bottom Butterfly -

Be sure to let the masking fluid dry really well before painting.
At this stage of the painting process, we will use just the Alizarin Crimson and the Thalo Blue. So, spritz your paper, and then paint the Alizarin in the top half and the Blue in the bottom half.

Turn your paper upside down, to mingle the colors better . . .

Now, we'll add some more texture, since we won't be masking anymore. Sprinkle some salt all over, after it has dried to a sheen. Then, spatter your painting, this time with Cadmium or Winsor Red, and with Cerulean Blue. These colors will sit on top of the darker colors and won't spread.
I know it's hard to tell what your painting is going to look like, at this point.

Mix together the Alizarin Crimson and the Thalo Blue. With this dark color, brush it onto some of the parts of the butterflies' wings. I realize you will be painting right on top of the salt. Just do your best to drop in some of that dark color, and then lay it flat to dry . . .

Now, it's time for the Big Reveal!
Using either your thumb or a square crepe rubber "eraser", begin to remove the masking fluid and the salt. Rub as much of the salt with your hand first, and then tackle the removal of the masking. Where the salt and masking fluid have dried together, it might be particularly stubborn -- use your fingernail if you need to, to scrape off the salt.

And, voila' -- your Butterfly Batik!
At this point, you can call it good, sign it, and you're done. Or, like me, there might be a few little things that you'd like to adjust.

I glazed over the bodies of two of the butterflies, to darken them a little. That made me happier. . .

I hope you're happy with your results. I know the masking can be a bit tedious, but the effect you get is usually worth it.
Here's one of my large paintings, where I used the same batik method --


